
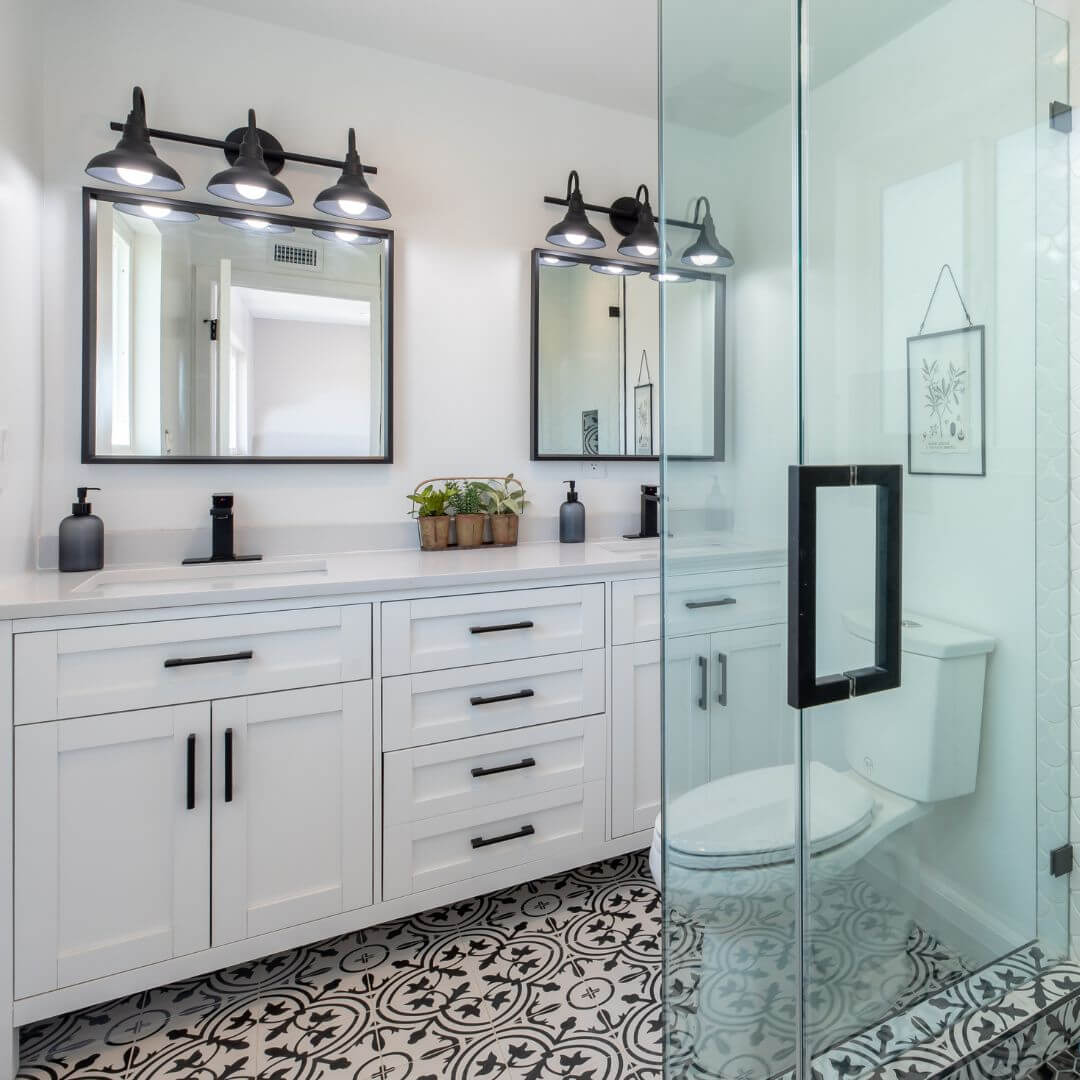
Essential Tips for Painting the Bathroom
When it comes to bathroom renovation, a fresh coat of paint can work wonders! However, painting the bathroom requires special attention due to the presence of moisture and potential mold growth. Here are some essential tips from Alliance Painting DFW® to ensure a successful bathroom painting project.

Choose Bathroom-Specific Paint
To ensure a lasting finish in your bathroom, opt for paint specifically formulated for high-moisture areas. Such paints often contain mildewcides, which help prevent the growth of mold and mildew. Moreover, they are designed to withstand the humidity and temperature variations typically found in bathrooms.
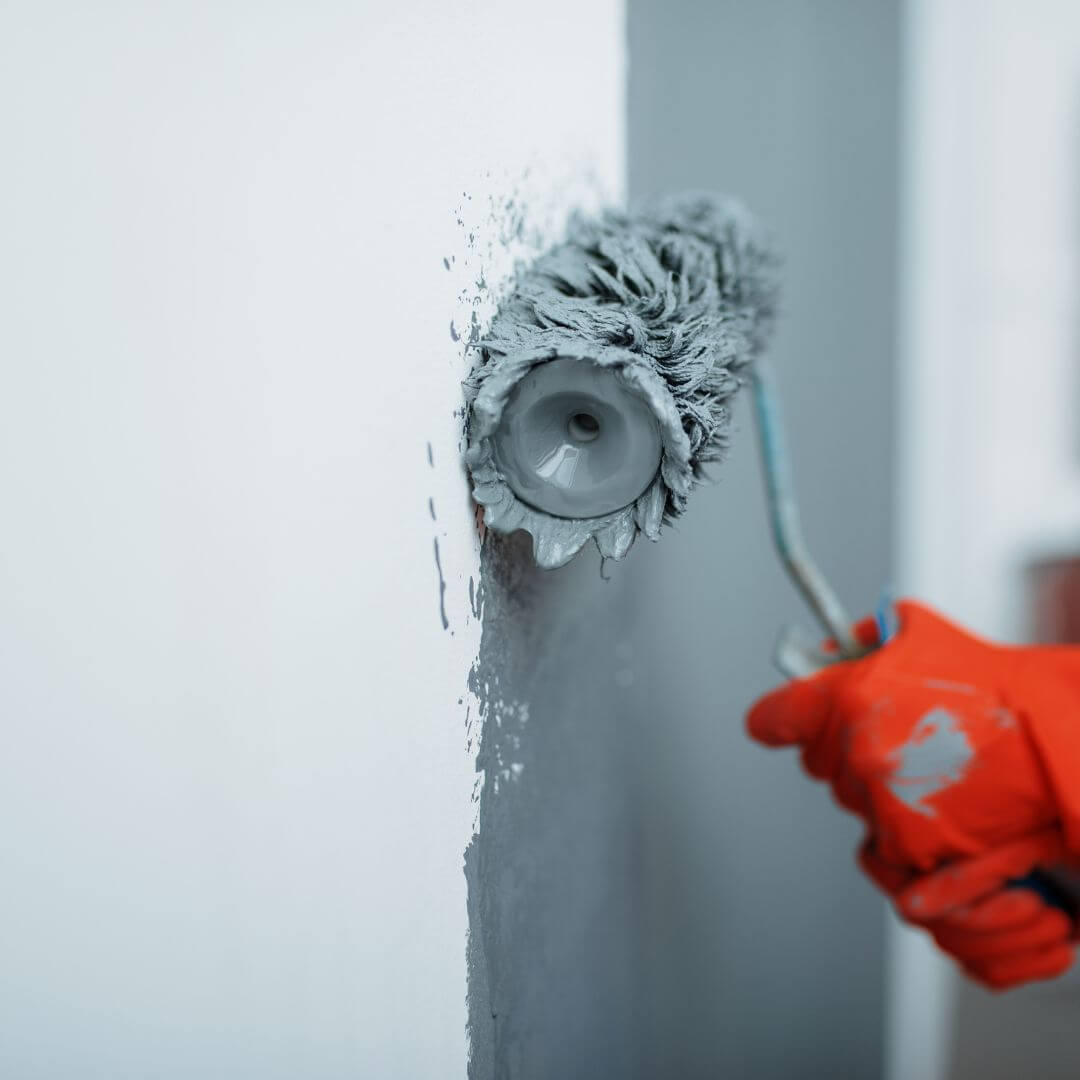
Prepare the Painting Surface
Before painting, it’s crucial to properly prepare the bathroom walls. Remove any existing peeling or flaking paint by sanding the surface gently. Fill any cracks or holes and then smooth them out. Additionally, ensure that the walls are clean and dry before you begin painting. Proper surface preparation guarantees better adhesion and a more even application of paint.
Learn More Today!
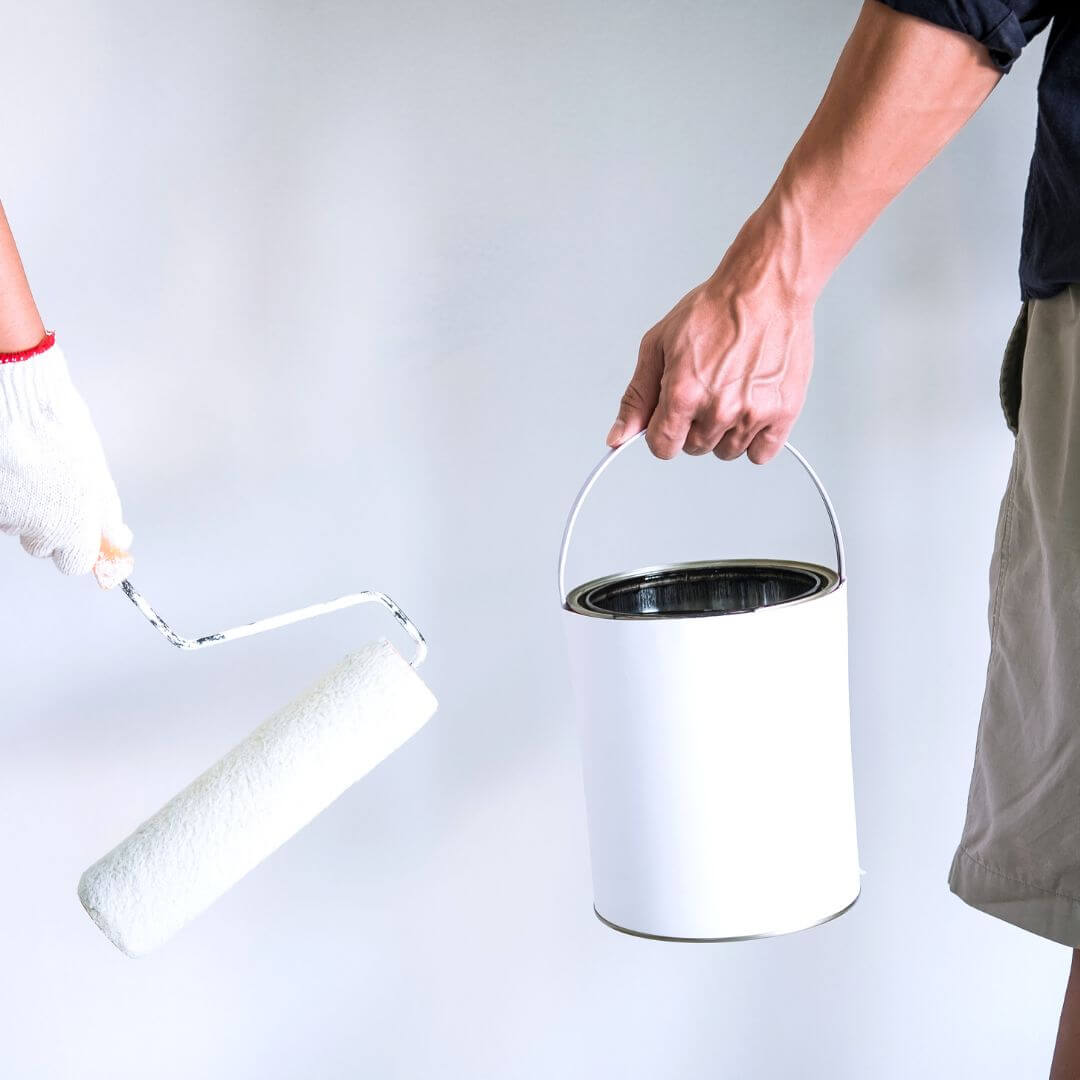
Use the Right Tools
Investing in high-quality painting tools will make the job easier and yield better results. For bathroom painting, consider using brushes with synthetic bristles, as they are less likely to absorb water or become damaged by humid conditions. A roller with a high nap is also preferred for textured surfaces often found in bathrooms.
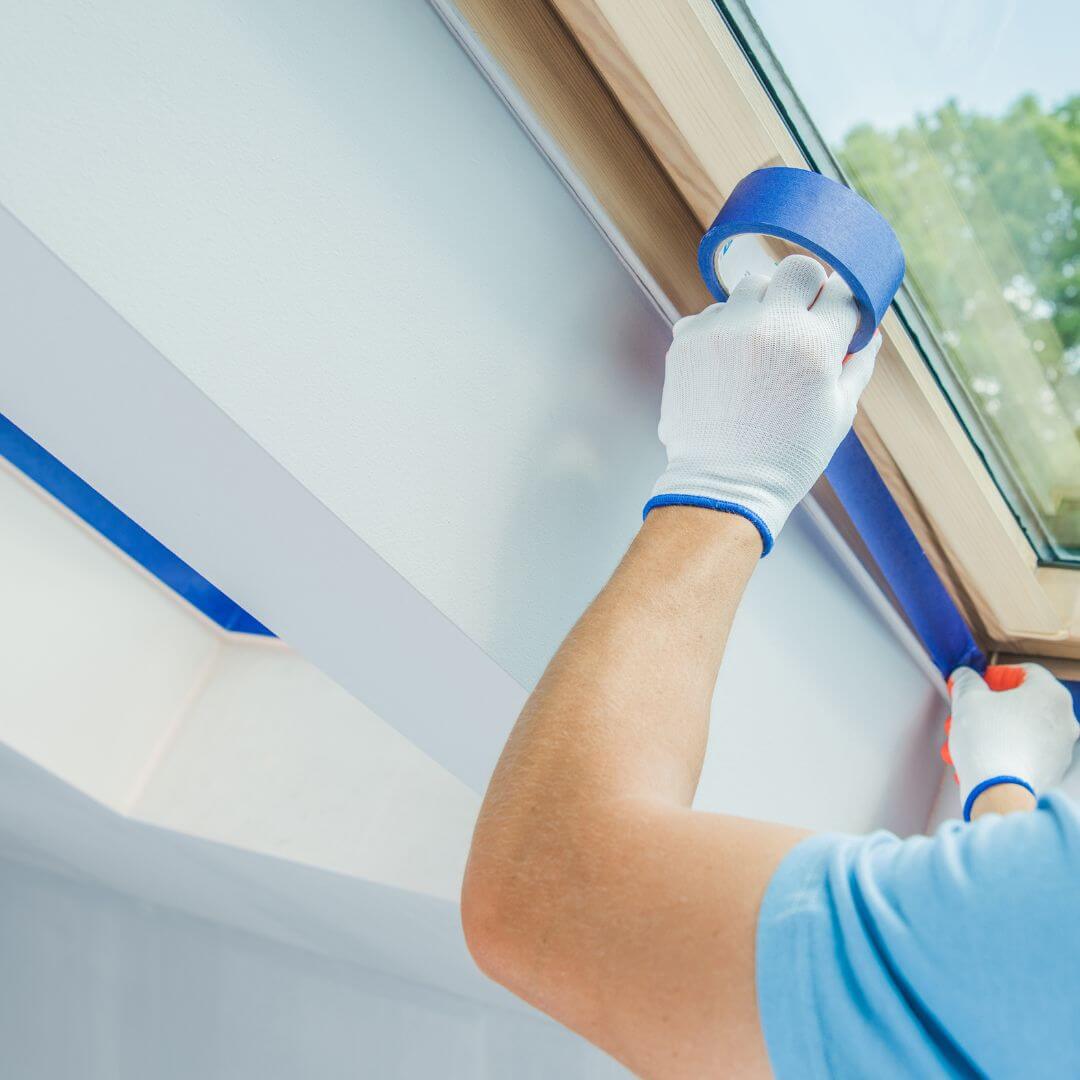
Protect Fixtures and Countertops
Before starting the painting process, protect bathroom fixtures, countertops, and flooring by covering them with plastic sheets, drop cloths, and painter’s tape. This prevents accidental paint splatters or spills from damaging these surfaces. Alliance Painting DFW® advises taking the extra time to properly prepare and protect the bathroom space for a stress-free painting experience.
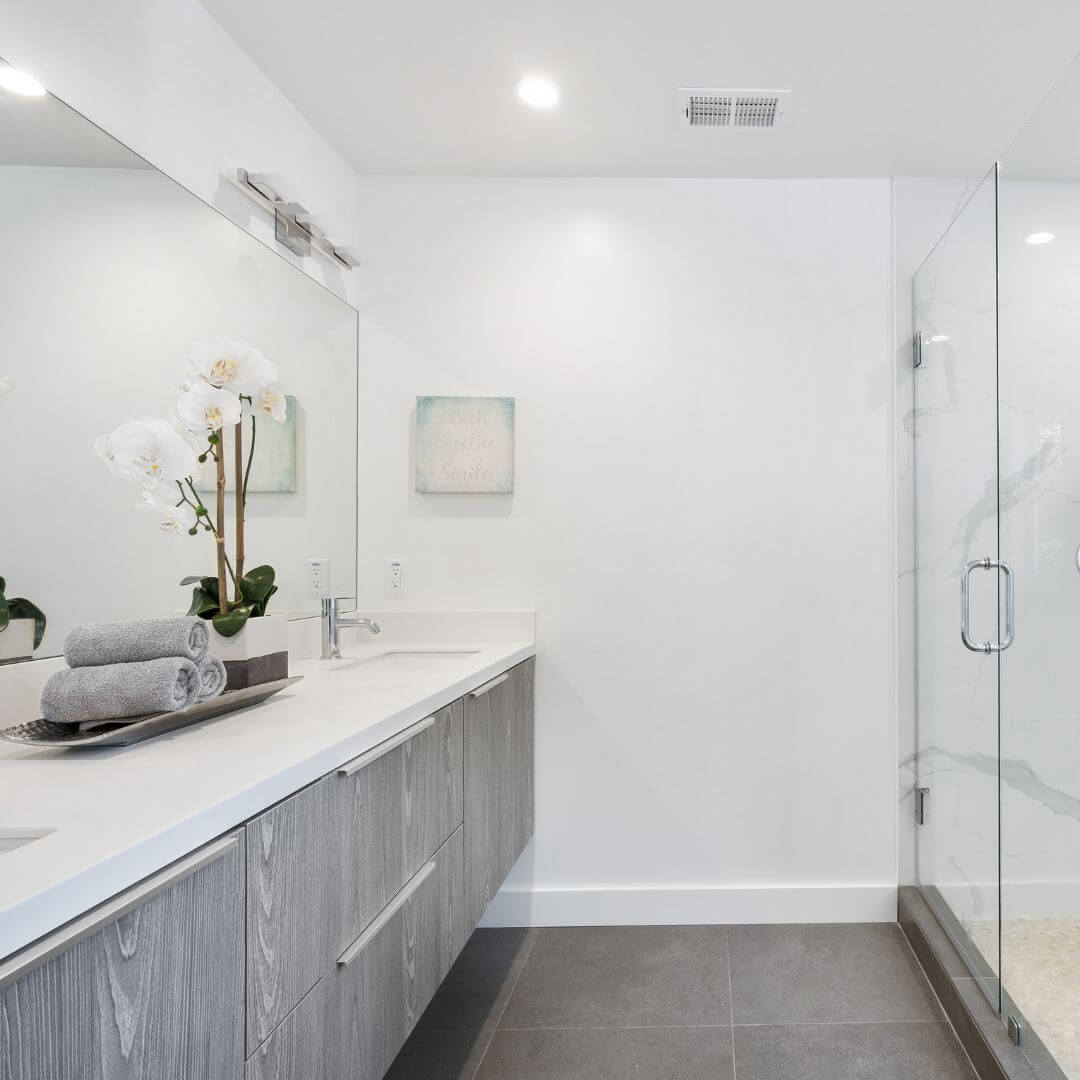
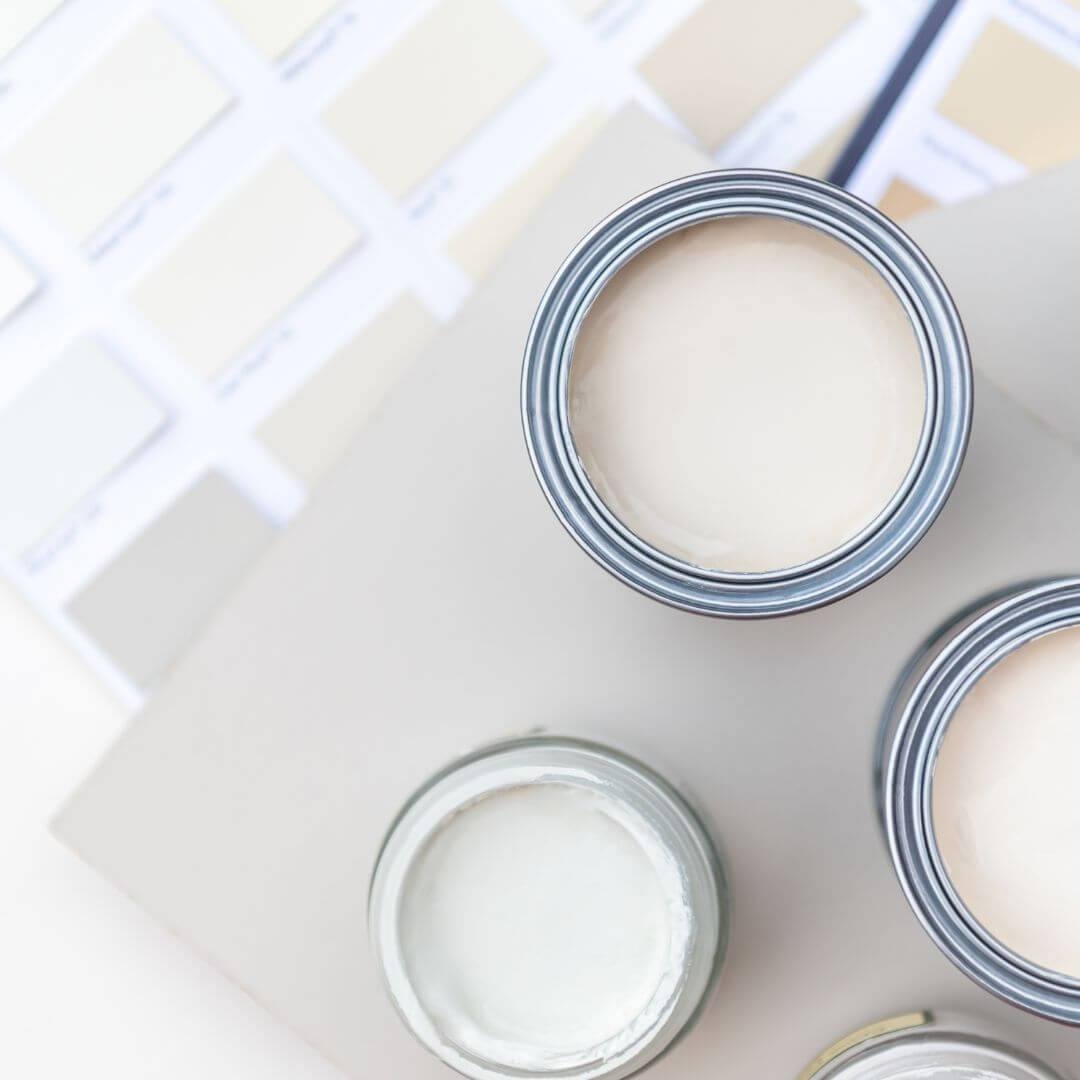
Test Your Colors
Before committing to a paint color, test samples on your bathroom walls. Take lighting, existing elements like tiles, and personal preferences into account to find the perfect shade that complements your bathroom decor. Select a paint finish suitable for bathrooms, such as satin or semi-gloss. These sheens offer both durability and ease of cleaning, making them ideal for high-moisture areas.
Learn More Today!
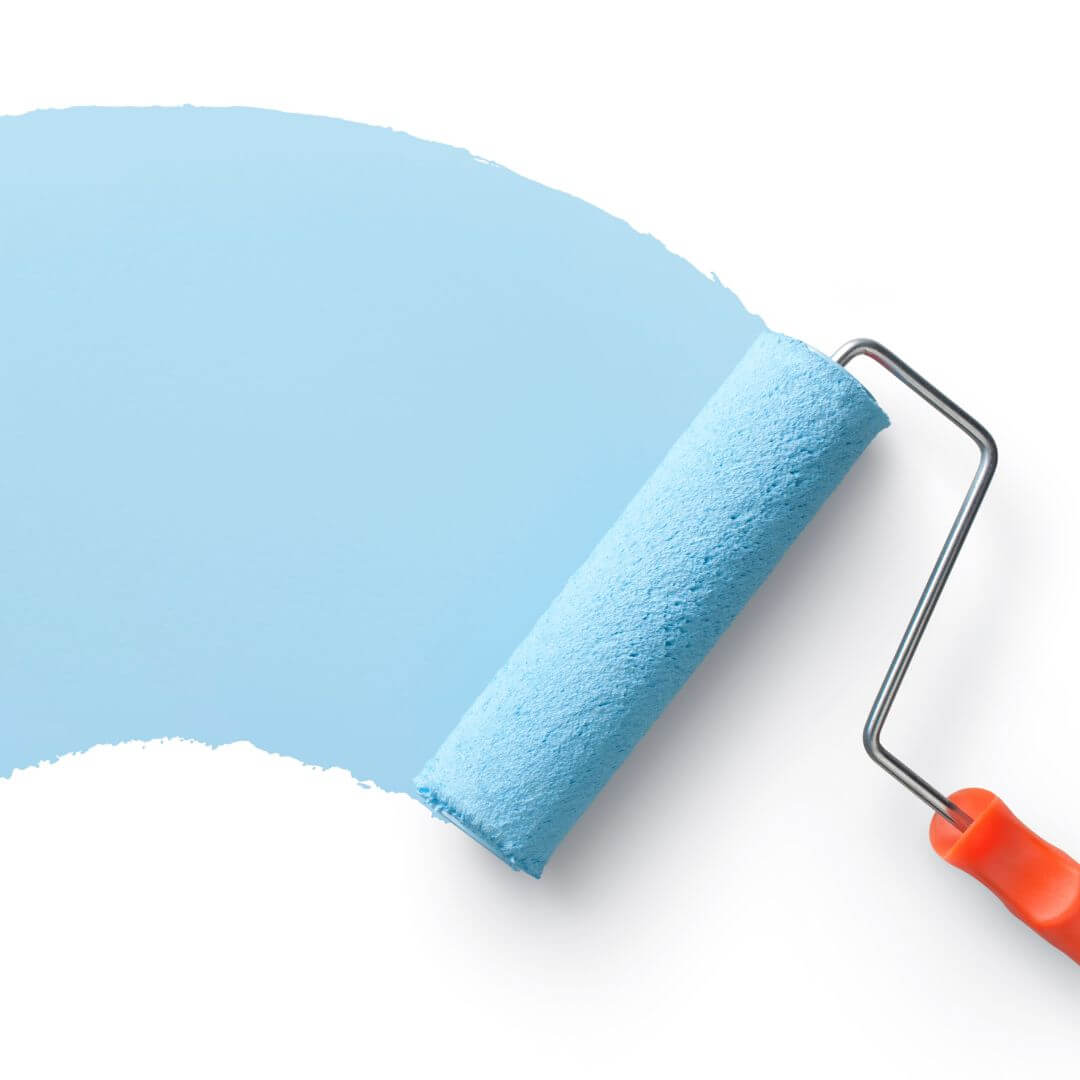
Use a Primer and Apply Multiple Coats
Applying a primer coat before the main paint helps seal the surface, improves paint adhesion, and prevents stains or discoloration. Choose a primer suitable for the bathroom’s unique conditions. To achieve a durable and professional finish, apply two or more coats of paint, allowing sufficient drying time between each coat. This ensures even coverage and a vibrant result.
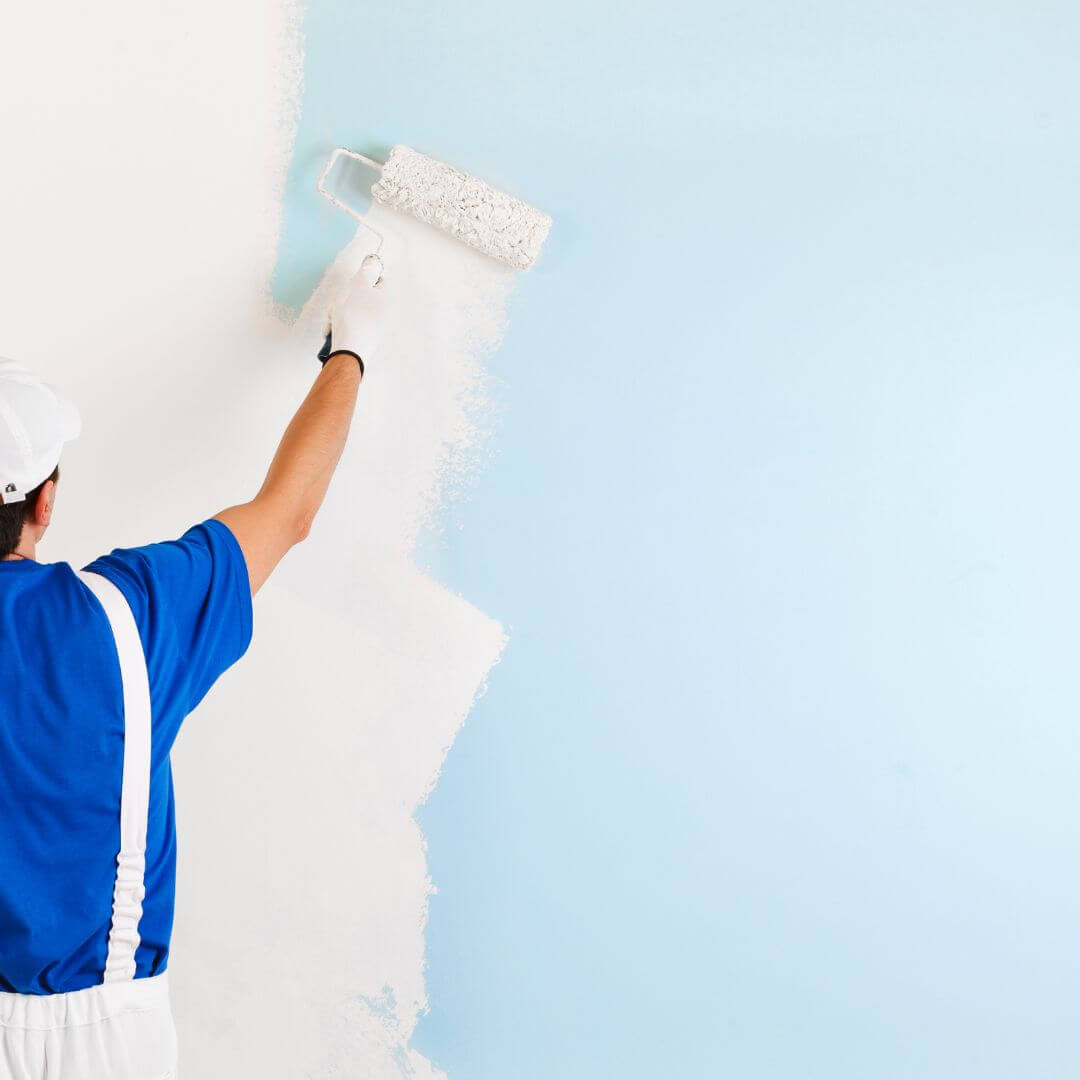
Follow a Top-Down Approach
Begin by painting the ceiling using a roller or brush suitable for the surface. Take care around light fixtures and fans, ensuring an even coverage. When painting the walls, work from the top down. This prevents paint splatters or drips from spoiling the lower areas. Use smooth and even strokes for consistent coverage.
Pay Attention to Moldings and Corners
Take your time to carefully cut in around edges, corners, and fixtures using a high-quality brush. Pay close attention to moldings, such as baseboards and trim. Use painter’s tape for precise lines and a polished overall appearance.
Learn More Today!
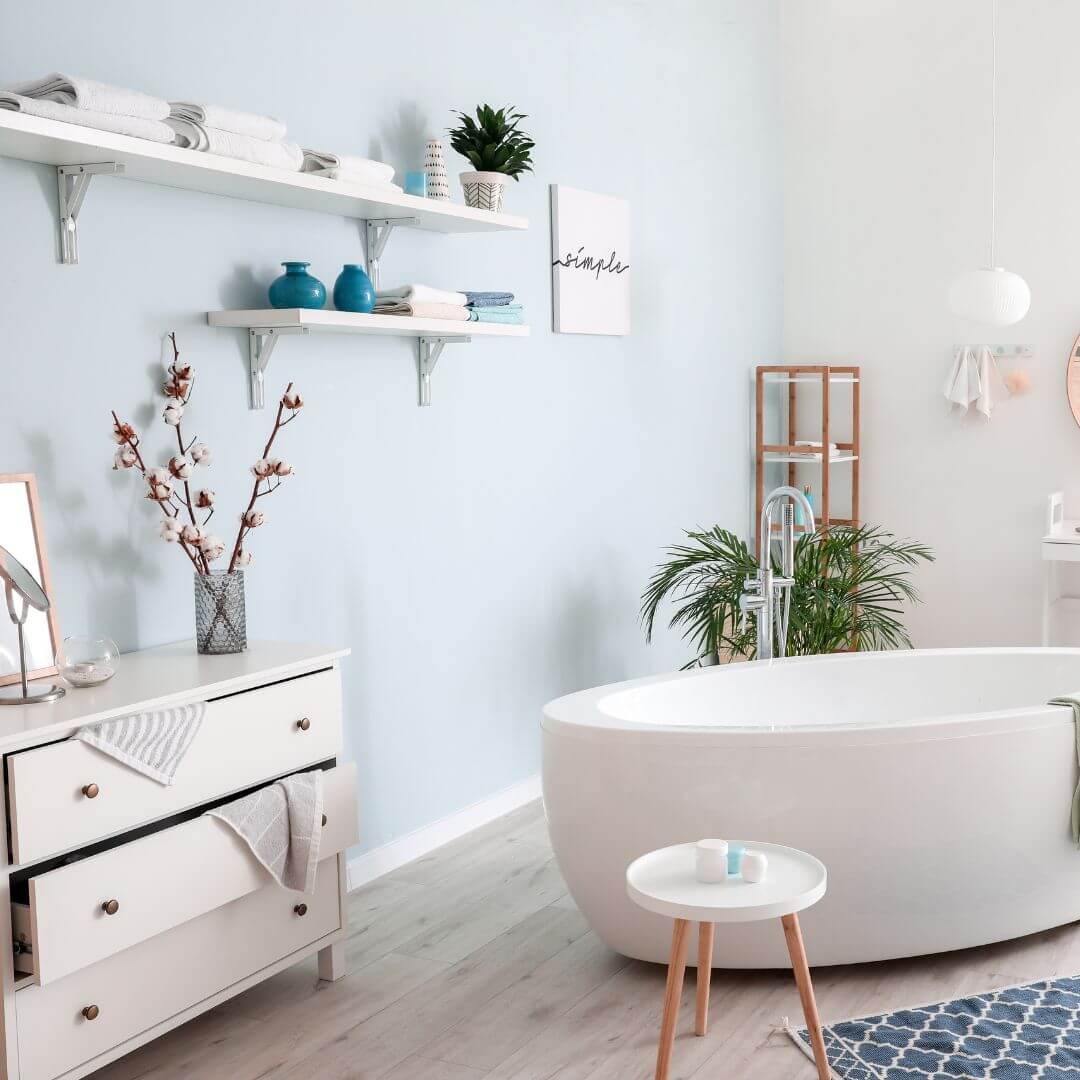
Accent and Textured Walls Are Optional
Consider adding an accent wall to your bathroom. This can create visual interest and elevate the overall design. Choose a focal point and select a complementary or contrasting color to make it stand out. If your bathroom walls have texture, use a thicker nap roller to get complete coverage and ensure the paint reaches all the nooks and crannies.
Allow Ample Drying Time and Clean Up Properly
Be patient and give the paint ample time to dry according to the manufacturer’s instructions before using the bathroom. Rushing this step may result in smudges and ruin the finish. Once your bathroom has been transformed, make sure to clean your brushes, rollers, and any paint spills promptly. Dispose of all paint-related materials responsibly.
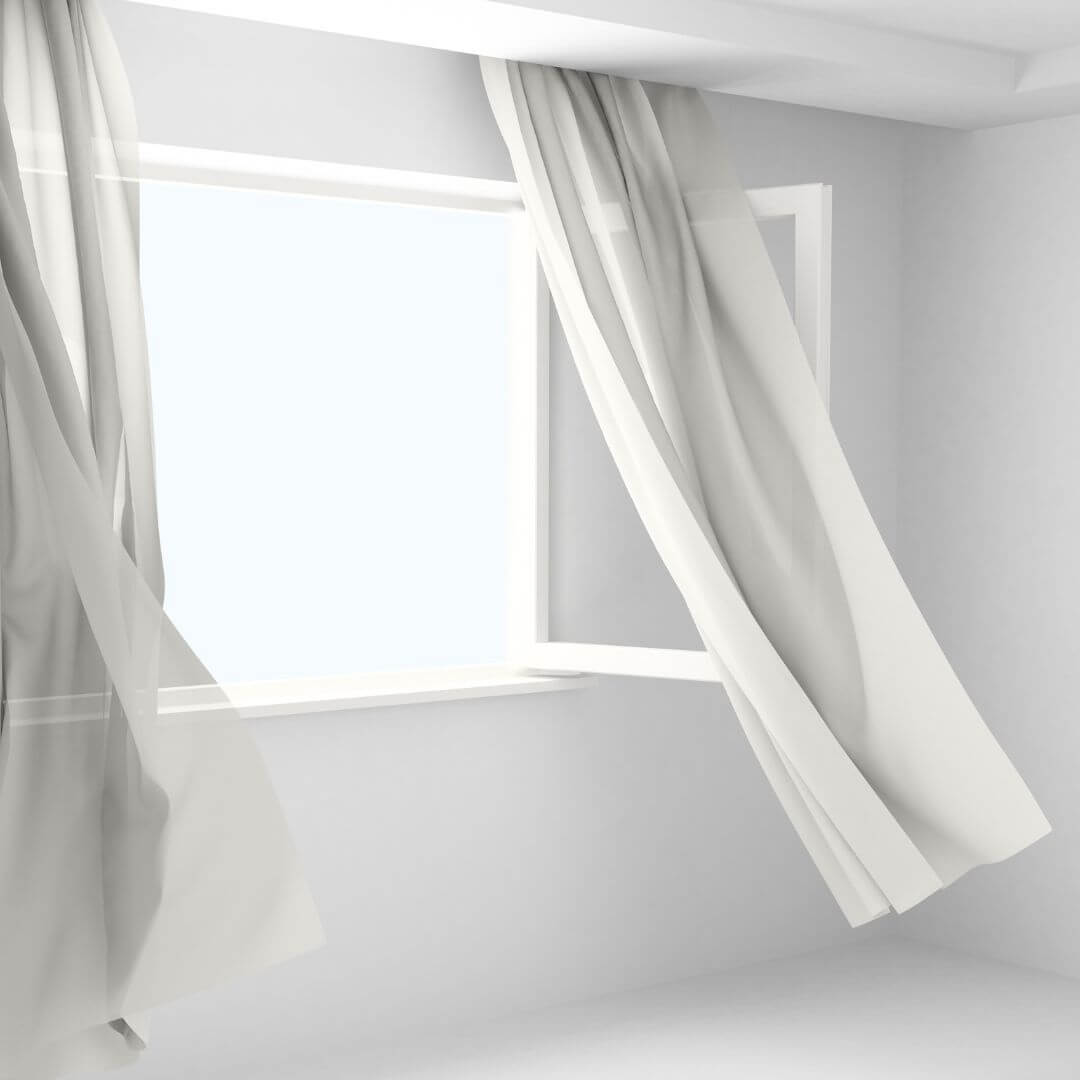
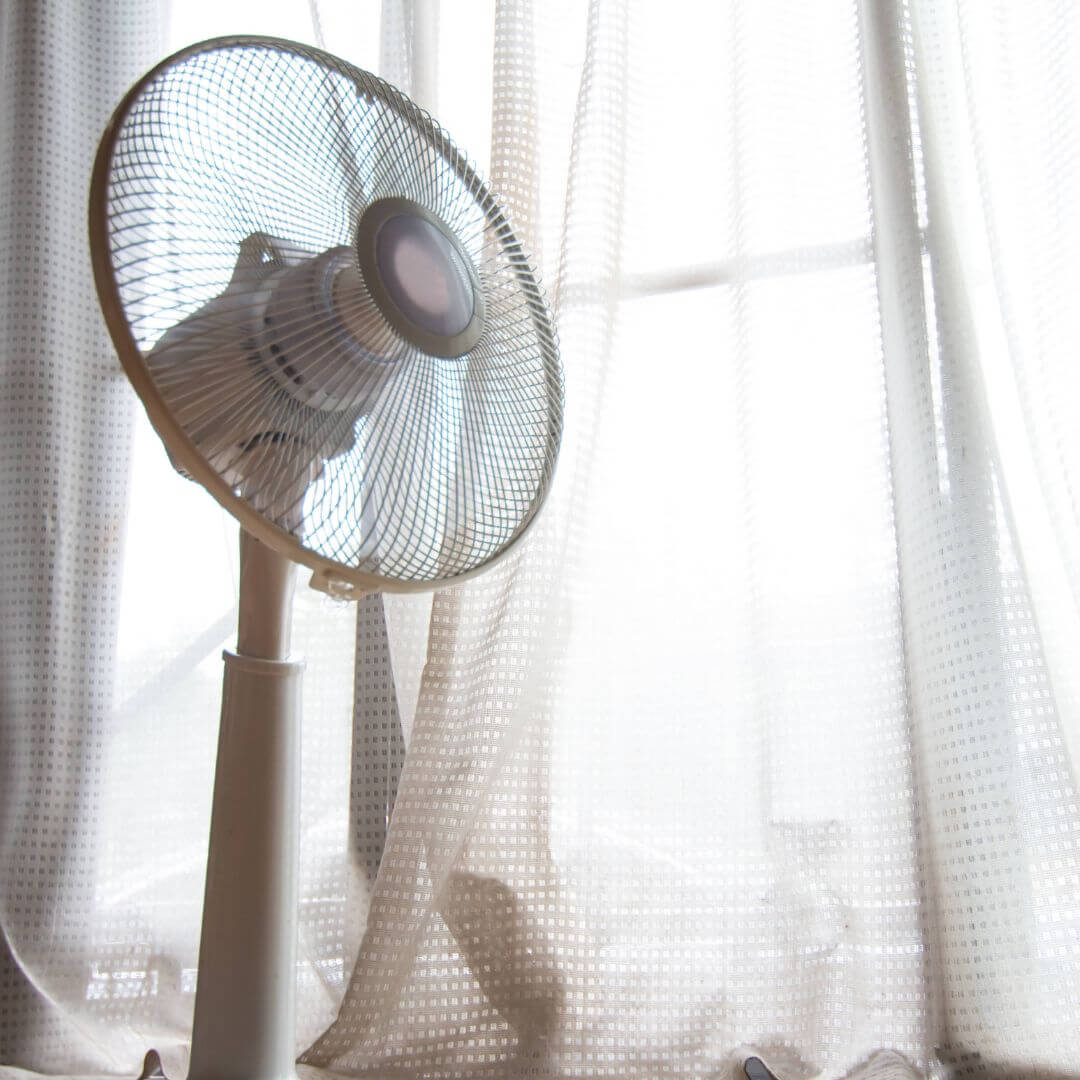
Implement Proper Ventilation
Proper ventilation is crucial during and after the painting process. Ensure the bathroom is well-ventilated during the painting project by opening windows or using fans to circulate fresh air. This helps accelerate drying and prevents the buildup of excess moisture. After completing the painting, continue to promote airflow and reduce humidity by using a bathroom exhaust fan regularly.
Learn More Today!
Touch-Ups and Corrections
Inspect the painted surfaces carefully after each coat dries. Make any necessary touch-ups or corrections before proceeding to the next coat. Attention to detail during this process ensures a flawless result.

Hire Professional Painting Contractors
For a hassle-free and expertly executed bathroom painting project, consider enlisting the services of professional painting contractors, such as Alliance Painting DFW®. With their expertise, experience, and access to premium materials, they can ensure a flawless and durable paint finish in your bathroom. Hiring professionals saves you time, eliminates potential errors, and guarantees a stunning transformation.
Painting the bathroom requires attention to detail and careful execution, but with the right techniques and products, you can achieve a professional finish. By following the above tips provided by the professional painting contractors at Alliance Painting DFW®, you can transform your bathroom into a fresh and inviting space. Remember, if you need expert assistance or want to save time, hiring a professional painting company like Alliance Painting DFW® is always a wise choice.
Learn More Today!
")
